Showing posts with label papercraft. Show all posts

Wednesday, December 28, 2011

Mini Birdhouses

It's day 28 of my personal creative challenge

Just a quick post.  Today I played around with some paper scraps and tiny wooden birdhouses.  I've had these forever and finally decided to dress them up a little bit.  They are a work in progress, I'm thinking I might add them to a springtime wreath or something like that.  Not sure, still in the thinking process.  These are done using a couple of my favorite colors, I use pink and green in varying shades most often.  The rub-ons are also left overs from a sheet that I had lying around.

Thanks for stopping by today, I'll talk to you again soon.

Tuesday, December 6, 2011

Day 6 Treat boxes

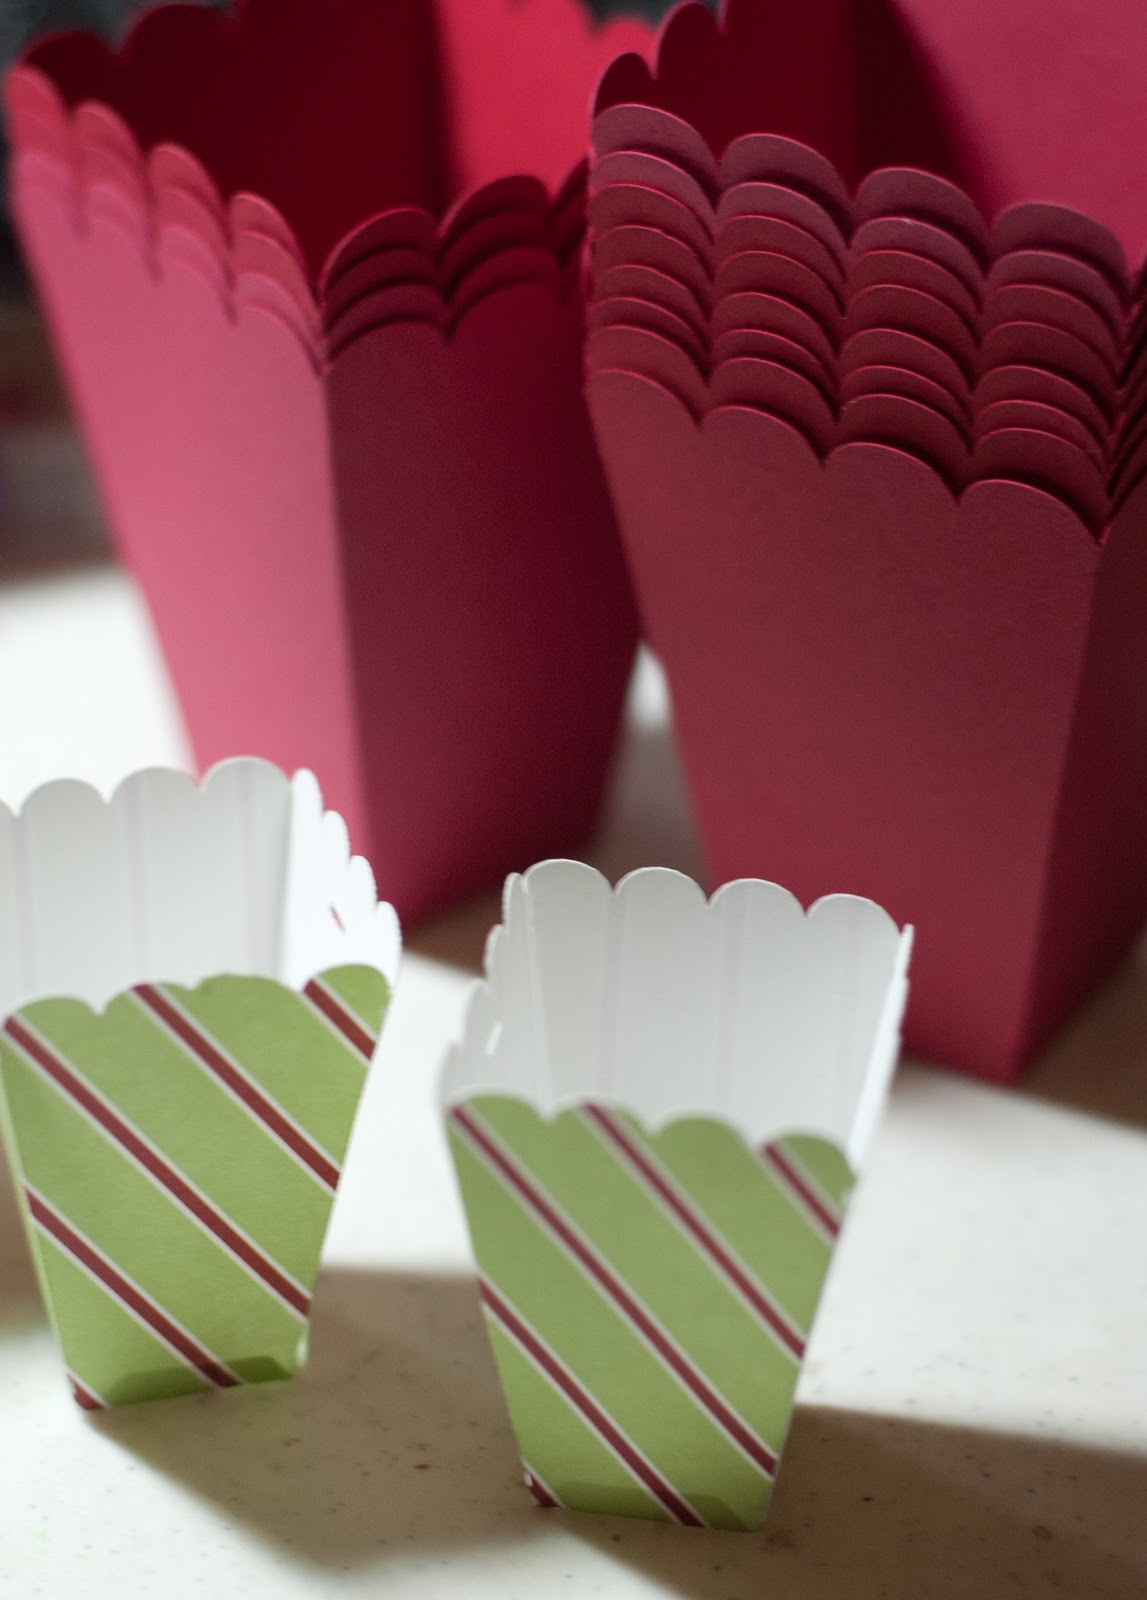
Spent part of the day making treat containers and deciding on which recipes to use this year.  We always deliver treat trays to our neighbors, it's a tradition I enjoy and helps to kick off the season.  The bigger containers are for my favorite caramel corn recipe.  It comes out perfect every time and so addictive I could eat an entire batch by myself (almost in one sitting!)  I will try to refrain from over indulging but it will be a struggle.  These still need tags and labels but at least they are started.  Have a restful evening and I'll talk to you again soon.

Monday, December 5, 2011

Day 5 Gift tags

Today, a set of gift tags and some warm comforting soup for dinner.  I got out and shoveled the driveway and walkway to the house so I'd say it was a productive day. 

These tags are the next part of a gift set I'm making for a friend.  More tomorrow.  Have a cozy evening and I'll talk to you again soon.

Sunday, November 20, 2011

Paper pockets

 Paper pockets seem to be all "that" lately, at least on several of the blogs that I visit on a regular basis.  I am always trying to figure out a way to keep up with the trends by making it myself.  I am also an instant results kind of person.  I don't want to have to order something and then wait for it to arrive before I can start playing around with the vision I have in my head.  So, this little tutorial is all about my attempt at making my own cute paper pockets.  You could also modify it to make envelopes since you are creating it to the size of your "filling".  My pockets needed to hold 2 recipe cards (see the previous post)  I needed to make a bunch of them and I wanted them to reflect a certain theme.  Here is where serendipity played a part, I was at Target to pick up that universal tool, duct tape, when I happened by the dollar bins.  There I found small rolls of brightly colored holiday wrapping paper.  So I picked up a couple, along with my duct tape.  I thought the paper would be the perfect weight for my pockets.

First I measured the length and width of my recipe cards and added an inch to the length and then doubled the width and added 2 1/2 inches.  This way when I wrapped it around the cards I would have some overlap to glue together.  I took the paper and rolled it out on my large cutting mat and used my rotary cutter and quilting rulers to cut it into strips.
 Next, I wrapped it around the 2 cards and creased the bottom to get my folds.  I unwrapped it and cut notches where the two fold lines intersected on each side.  (see below)

 I added a small square of white text paper to the top edge of the pocket to reinforce the area where I was cutting a thumb notch.  Then punched the notch with a circle punch, just using half of it.
 I folded the two outer flaps on the bottom of the pocket up toward the top of the pocket.
 Then folded the two sides over, making sure the overlap covered the printing along the side of the paper.
 Unfolding the top side I applied tape and then carefully folded it back over.
The final step was to apply tape to the bottom flap and fold it up to create a nice clean looking bottom edge.
Done!  It seems like a lot of steps but I was able to make 100 of them in a very short amount of time.
Hope you found this tutorial helpful.  As I said above, you can modify this to fit any size project and by adding more to your length measurement you can also add a top flap to make it into an enclosed envelope.  Let me know if you try it or if you have any questions.

Have a great week and I'll talk to you again soon.


Tuesday, August 30, 2011

Passport

Another project for a friend.  She found these cute passport folders at the local craft store for $1.00 each.  I stamped up inserts for them.  The front page is vellum, I ran through my printer for the text, the little box in the center is for the photograph, got to have that for a passport! I want the feeling of a stamped passport so the layer underneather is stamped with seals and foreign language script.  It shows through the vellum without taking away from the text.  And, Of course, I had to stamp up a matching bag to deliver them in.  Hope she likes them.  I'll talk to you again soon.
 

Monday, July 4, 2011

Happy 4th of July!

Happy Birthday to the USA!  I hope all your celebrations are fun and safe.
I'll talk to you again soon.

Friday, June 24, 2011

Pretty packages

Here they are, all dressed up in their party clothes.  My gifts for the birthday tea are ready to go.  I do enjoy creating an attractive package to present gifts in.  Sometimes I think the package is even prettier than the gift.  I couldn't find just the right size box for these fancied up bottles so I ended up making my own.  I got the idea from an old fashioned oatmeal box.  I created a cut file for my Cricut using the George cartridge.  That way I could easily adjust height and diameter based on what sizes I needed.  I used some old vintage looking cardstock I had in my stash and got to work.  I think next time I will use something a little heavier.  These boxes won't hold up to a lot of weight but they sure look cute.


The bottles are filled with White Tea (of course) and Jasmine bath salts. Well I'm off to get myself ready for the tea.  Have a great day and I'll talk to you again soon.

Monday, June 20, 2011

A note of thanks!

Some days you need a little help from your friends...
You know who you are.  Thanks so much for helping out when you were needed! I'll talk to you again soon.

Sunday, February 20, 2011

Birthday Boys

The little twins across the street are celebrating their first birthday.  The card colors were inspired by the gift card I got from Target.  Their dad said it was the coolest card he'd ever seen.  I hope your weekend was great and your week is terrific.  We have school tomorrow to make up for one of the snow days last month but, if you have tomorrow off enjoy it and do something creative. I'll talk to you again soon.

Wednesday, February 16, 2011

Valentine treats


Lovely flowers from the beautiful bouquet my DH gave me for Valentine's Day.


A couple of little valentine treats for friends. Gotta love that crepe paper.
Hope your day was great.  I'll talk to you again soon.

Saturday, January 29, 2011

January

One day it was here the next it was gone! Don't know where January went, but here I am at the end of it and don't really have anything to show for it. Work has been busy, I've been taking some evening classes and volunteering all weekend at church for the last few weekends. So there hasn't been much time for creating and I've been feeling it. So today while the workmen are here completely re-piping my house and cutting big holes in the walls all over the place, that they assure me will be patched up so no one will ever know, I closed myself in my creative space and made a birthday card. Just one since I've also had the dog in here pacing because she can't go out and bother the workers.


(about the card: I used mostly scraps that were floating around my worktable, and I've been fidgeting with making crepe paper flowers, I kind of like how they turned out. All the ink and cardstock is from Close to my heart. and so is the birdcage stamp and the glitter, of course.)
I must have birds on the brain because tomorrow I'm going with a friend on a photographing trip to the Bosque Del Apache Bird Refuge. Our photography instructor is meeting us there to help us work on our technique. It's supposed to be beautiful, 62 degrees. Can't wait, it should be fun. If I get any good shots I'll be sure and let you know. Talk to you again soon.

Monday, December 20, 2010

Holiday Cards 2010

A bright and cheery holiday card.  This is one of a very few we'll be passing out this year.  I just ran out of time.
This one is a little more elegant, but with lots of sparkly glitter.  So much left to do and so little time to do it!! Guess I'm off to get busy.  Talk to you again soon.


Sunday, December 19, 2010

December Weddings

We have two weddings to attend this week.  This is the first of the to wedding cards I'm making.  The second card isn't finished yet, I'll try to get a picture of it before we leave for the festivities.

Talk to you again soon.

Friday, December 17, 2010

Count down to Christmas!

Finished up these 12 days of Christmas count down calendars for my library volunteers.  They were a big hit and fun to put together as well.

The little tins have magnets on the back so the shape of the countdown can be rearranged every year.  I used lots of glitter and bling.  Some of the days are filled with candy for sharing and others have tiny ornaments and the last day is a cute little Christmas bracelet for my wonderful workers.

I'm counting the days till I'll be spending time with family and friends this holiday season.  I hope your days are filled with love, hope, joy and peace.  I'll talk to you soon.

Monday, October 25, 2010

Christmas mini's

Mini tags that is.  These are little 2x2 gift cards with coordinating envelopes.  I'm in a little bit of a retro color kick.  There's lots of glitter and bling as well.  I had some left over mini flower picks so I pull them apart and used bits and pieces as embellishments.

The stamp set is from Close to My Heart.  I used Tulip red and an old robin egg blue stamp pad and papers.  I'm trying to be frugal and use up some of my older scraps.  I'm also trying to get a jump on the season.  So far this is all I've accomplished... Some jump right?  Oh well, I'll keep trying.
Have a great week and I'll talk to you again soon.